Pages

Monday, July 29, 2013

Salmon Berries - Sweet and Sour

Salmon Berries are such a conundrum.  You see them all over the place, large juicy looking berries that you keep convincing your self must be delicious!  Eating them can be a different story.  Some can have a really great taste with a mild aftertaste.  Others are straight up sour, and the color, ripeness, and size seem to have no bearing on the taste.


One of my sons loves eating them though- munches down buckets of them in the early spring.


I eat some to be supportive, and like about the first dozen.  The fact that they come out before all the other berries makes them easier to like.  Sitting next to blackberries or raspberries, I would pass on the off flavor of the Salmon Berries, but in the late spring, before the blackberries are even blooming, they are worth a snack while wandering around in the forest.


Does anyone have any good recipes for salmon berries?  Though they are gone for the year in my neck of the woods, I keep thinking I should do something with the large quantities next year!


Tuesday, July 9, 2013

Black Caps - Wild Raspberries

As a kid, I searched out every Black Cap bush within a several mile radius of my parents house.  The wild cousin of the domestic Red Raspberry, western Black Raspberries or Black Caps (link to genus definition) as I grew up calling them.  The taste is different, maybe more wild?  I am not sure how to describe what makes them different than red raspberries, but I know that I love the flavor and seek them out as soon as they come into season.  An added benefit, is that the season for these berries is fairly long, with each berry cluster generally ripening one at a time over a period of 4-8 weeks.  A good bush though can have dozens of canes with dozens of clusters on each cane, making for a very good forest treat!


Here in Western Washington, the berries are ripe now and should be producing through August.


The berries produce off of the previous years canes, so when picking be careful of the shoots coming up around the base of the plant as this is the next years crop.


Recipes?  I think a syrup would be delicious, but have never made it back to the house with enough to do anything substantial with.  Last year, I made a mixed berry cobbler with black caps, red huckleberries, and dew berries that came out excellent though!

Tuesday, June 25, 2013

Nettle Pesto and Eggs

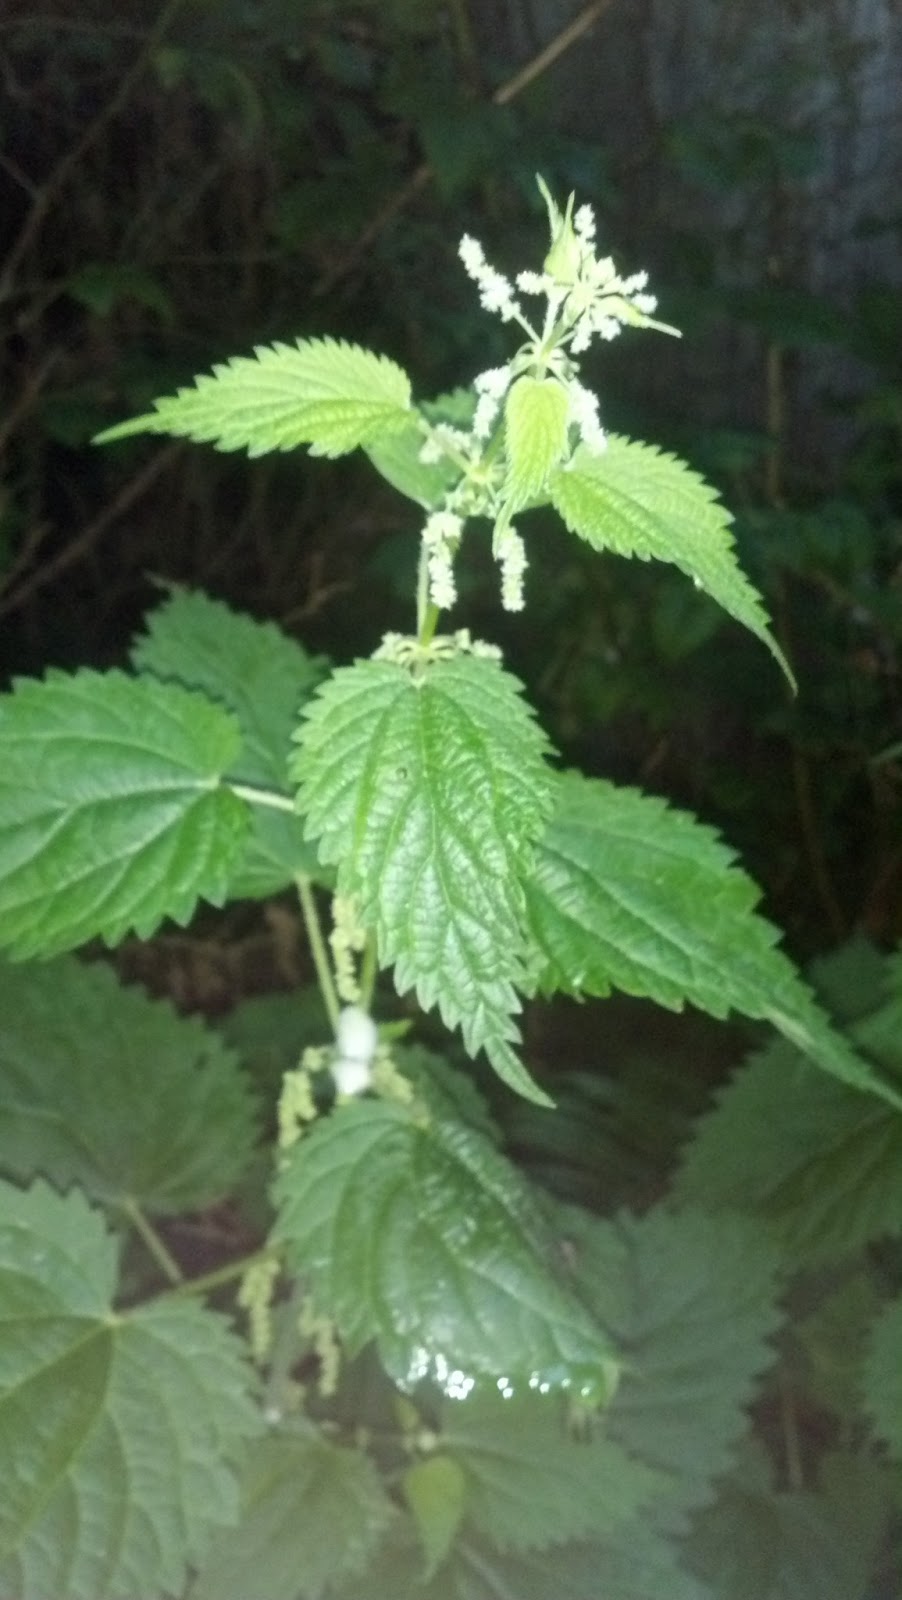
Living here in the Northwest, stinging nettles are very abundant around my property, as I have found on many occasions when picking other berries and getting stung while reaching too far into a bush.  They especially like to hide in the middle of the blackberry patch at the end of my driveway!

After finding some nettles, hopefully without getting stung too many times, look for the young shoots.  Even this time of year, you can find young shoots coming up.  Pinch off the tops of the plants (wearing gloves and preferably long sleeves just in case) and throw into a bag or a pot.


Nettle Pesto Recipe from Fat of the Land   Langdon Cook does a much better job at describing how to make nettle pesto.

My instructions:  Mix ingredients in blender.


2 cups stinging nettles, blanched and chopped (figure 6 cups raw)
1/2 cup Parmesan
1/2 cup pine nuts, roasted
4-5 large garlic cloves, peeled
1/2 cup olive oil
1 tbsp lemon juice

Puree for about 10 minutes until everything is well chopped, blended, and smooth.

I take my pesto, place extra in mason jars with caps and freeze to preserve for a bit.  Not sure if that is recommended, but it seems to work.  I use within a few months.


Tuesday, March 12, 2013

New Chicks 2013

We received our new baby chicks over the weekend - eight new baby birds are making their home inside our house right now - in our office.  The garage seemed too cold, and we are probably checking on them too much, but they are cute!

We have two Barred Rock older birds, and we ordered these chicks through the local farm store.  We did not want to order straight from the hatchery and have to deal with chicks in the mail, maybe because I never thought the post office would care enough to make sure they were handled correctly.

Sure enough, the nursery called last week - the chicks were "lost" for 48 hours in transit!  Luckily, most survived, but how do you lose a box of cheeping birds?  Seems like something you would notice.

All of our birds made it - we got:

2 Ameraucana
2 Black Astrolorps
2 Brown Leghorns
2 Wellsummer

The chicks in their bin:


Looking up information on chicks, I came across this poster from 1918.  I thought it was very fitting!  Why though, in our current recession / war, are we only being encouraged to spend at malls instead of doing work at home to help out?


Carter thought the chicks needed a roost, so he build one with his magnet squares!
They started roosting on it after a few minutes of scrambling and wondering what we put in there with them!

Lastly, I went out last night to feed the older birds, and sitting in a tree over the coop was our resident Great Horned Owl.  The picture is a bit fuzzy, as it was dark and I was getting as close as I could before he flew.  Good thing I have overhead protection on my chicken run!


Tuesday, March 5, 2013

Oysters on the Beach

A nice little family vacation over to the Olympic peninsula yielded a lot of foraging potential!

But the nice highlight of the trip was a stop by a small park on the way home up the Hood Canal.  Oyster shells covered the beach, individual shells and large clumps where multiple oysters had spurred off of previous shells.  It was a moderately low tide, but you could see out in the water a couple feet lower large piles of oysters ready for harvest!  At the elevation we were at, there were still quite a few good ones on the beach. 

This was definitely an example of bad preparation.  I had lost my knife early in the trip, and did not have any type of container to carry oysters home.  Luckily, Carter found me a sharp rock, which I used to pry open a couple of shells and slurp down right there on the shore.  Perfect!


Wednesday, February 27, 2013

Easy Pumpkin Seeds


Each year at Halloween, we set out with the goal of finding the perfect pumpkin for each of the family members.  After the toils of selection, (see ShermanFarms U-Pick) the fun begins with the pumpkin carving!  

With a little help with sharp knives for the little ones, we carve a pumpkin for each family member. 

And of course, we save the seeds!  Pumpkin seeds are a nice fall treat after the rigors of tromping around getting candy from neighbor’s houses.  To me, and to my kids, the homemade ones have a taste reminiscent of popcorn, but much more filling.

It is pretty simple really, save the seeds after carving your Halloween pumpkins, or save the seeds after cutting up your Hubbard Squash or pumpkins for pie or any other winter squash. 
·         Clean off all the slime, stringers, and goopers. 
·         Place in a bowl and add two tablespoons of olive oil. Stir them around and make sure all are oiled, add more oil if needed.
·         Spread on a cookie sheet evenly
·         Sprinkle with salt to your liking – we salt liberally
·         Bake in oven for approximately 45 minutes at 250 degrees
·         Eat right away, save for later, enjoy!
I store my roasted pumpkin seeds in ziplock bags on the pantry shelf.  The keep well for several months, at least, that is the longest I have kept any around.

Thursday, February 14, 2013

Vermicompost: Making the worms do the hard work

Maybe I need to rethink my tagline statement.  Waste is needed, as long as it can be directed towards food for my worms!  I am simply amazed at the amount of things that the little squigglers eat up.

So it seems like a pretty simple system - build a box, put food scraps in, cover with something that is not attractive to flys, add worms, get awesome plant food!  I definitely like the rich dark look and feel of the worm castings that I have produced with my worm bin, and I think the garden beds that I am using them are doing better, though I did not do any side-by-side comparison or definitive tests.  But worm castings as a beneficial by-product aside, I get to take food scraps out of the garbage and make something out of them!

Of course it is not all a bed of roses, in fact it smells nothing like roses.  I have had all the classic problems that you can get from a worm bin:  too wet, too dry, too smelly(anaerobic), fly invasions, beetle invasions, slug invasions, centipede invasions, too much food, the wrong foods.  But it has been a fun experiment, and I see a definite, and free (minus my labor of course) benefit to the plants around the house!


I started my bins by collecting worms from around my property.  The hard part is finding red wigglers versus regular earthworms.  Luckily, I had several ages piles of leaves from a previous spring cleanup, and that provides a good supply of worms.  They tended to be on the small side, less than an inch in length, but have grown much larger in my bins.


I have two worm systems.  A larger system that I keep outside.  This is a 2 foot wide, 4 foot long, and 20 inch deep wooden box, made from scraps of plywood and 2x4s.  I have a divider board in the center to divide the box into two equal sections.  I fill up one half at a time with a mix of household scraps and dry leaves to cover the scraps.

My second garage system is a 5 gallon bucket.  This system is fed with shredded cardboard and coffee grounds only.  Over time, this system has produced an abundance of additional worms for my larger outdoor box.  The worms really thrive in the coffee grounds and cardboard!  I get the shredded cardboard from work and the coffee grounds from a local coffee shop that sets out bags of grounds for home gardeners.  I consider this my worm factory to produce more worms for my outdoor main processor.